How to Clean the Filter on Your Levoit Pet Air Purifier (Step-by-Step Guide)
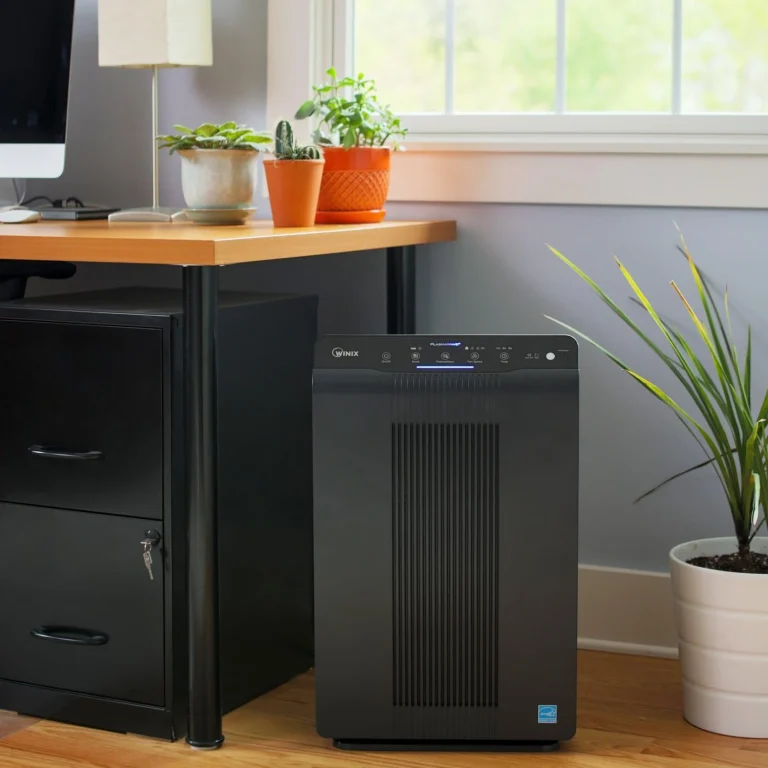
If you rely on your Levoit pet air purifier to keep your home free of pet hair, dander, and dust, regular maintenance is essential. According to the manufacturer’s user manual, the outer pre-filter should be cleaned every two to four weeks. This simple routine will increase the machine’s efficiency and significantly extend the life of your replacement filters.
Here is a complete, step-by-step guide to cleaning your Levoit pet air purifier filter safely and correctly.
⚠️ Safety & Preparation First
Because air purifiers trap microscopic particles, allergens, and pet dander, it is highly recommended to wear proper safety equipment before opening the machine.
What you will need:
- A high-quality dust mask
- Nitrile gloves
- Safety goggles
- A vacuum cleaner with a soft brush or hose attachment
Preparation:
- Power Off: Ensure the air purifier is completely turned off and unplugged from the wall outlet.
- Protect the Unit: Lay down a soft towel or move to a carpeted area. This prevents the top of the air purifier from getting scratched when you turn it upside down.
🛠️ Step-by-Step Cleaning Instructions
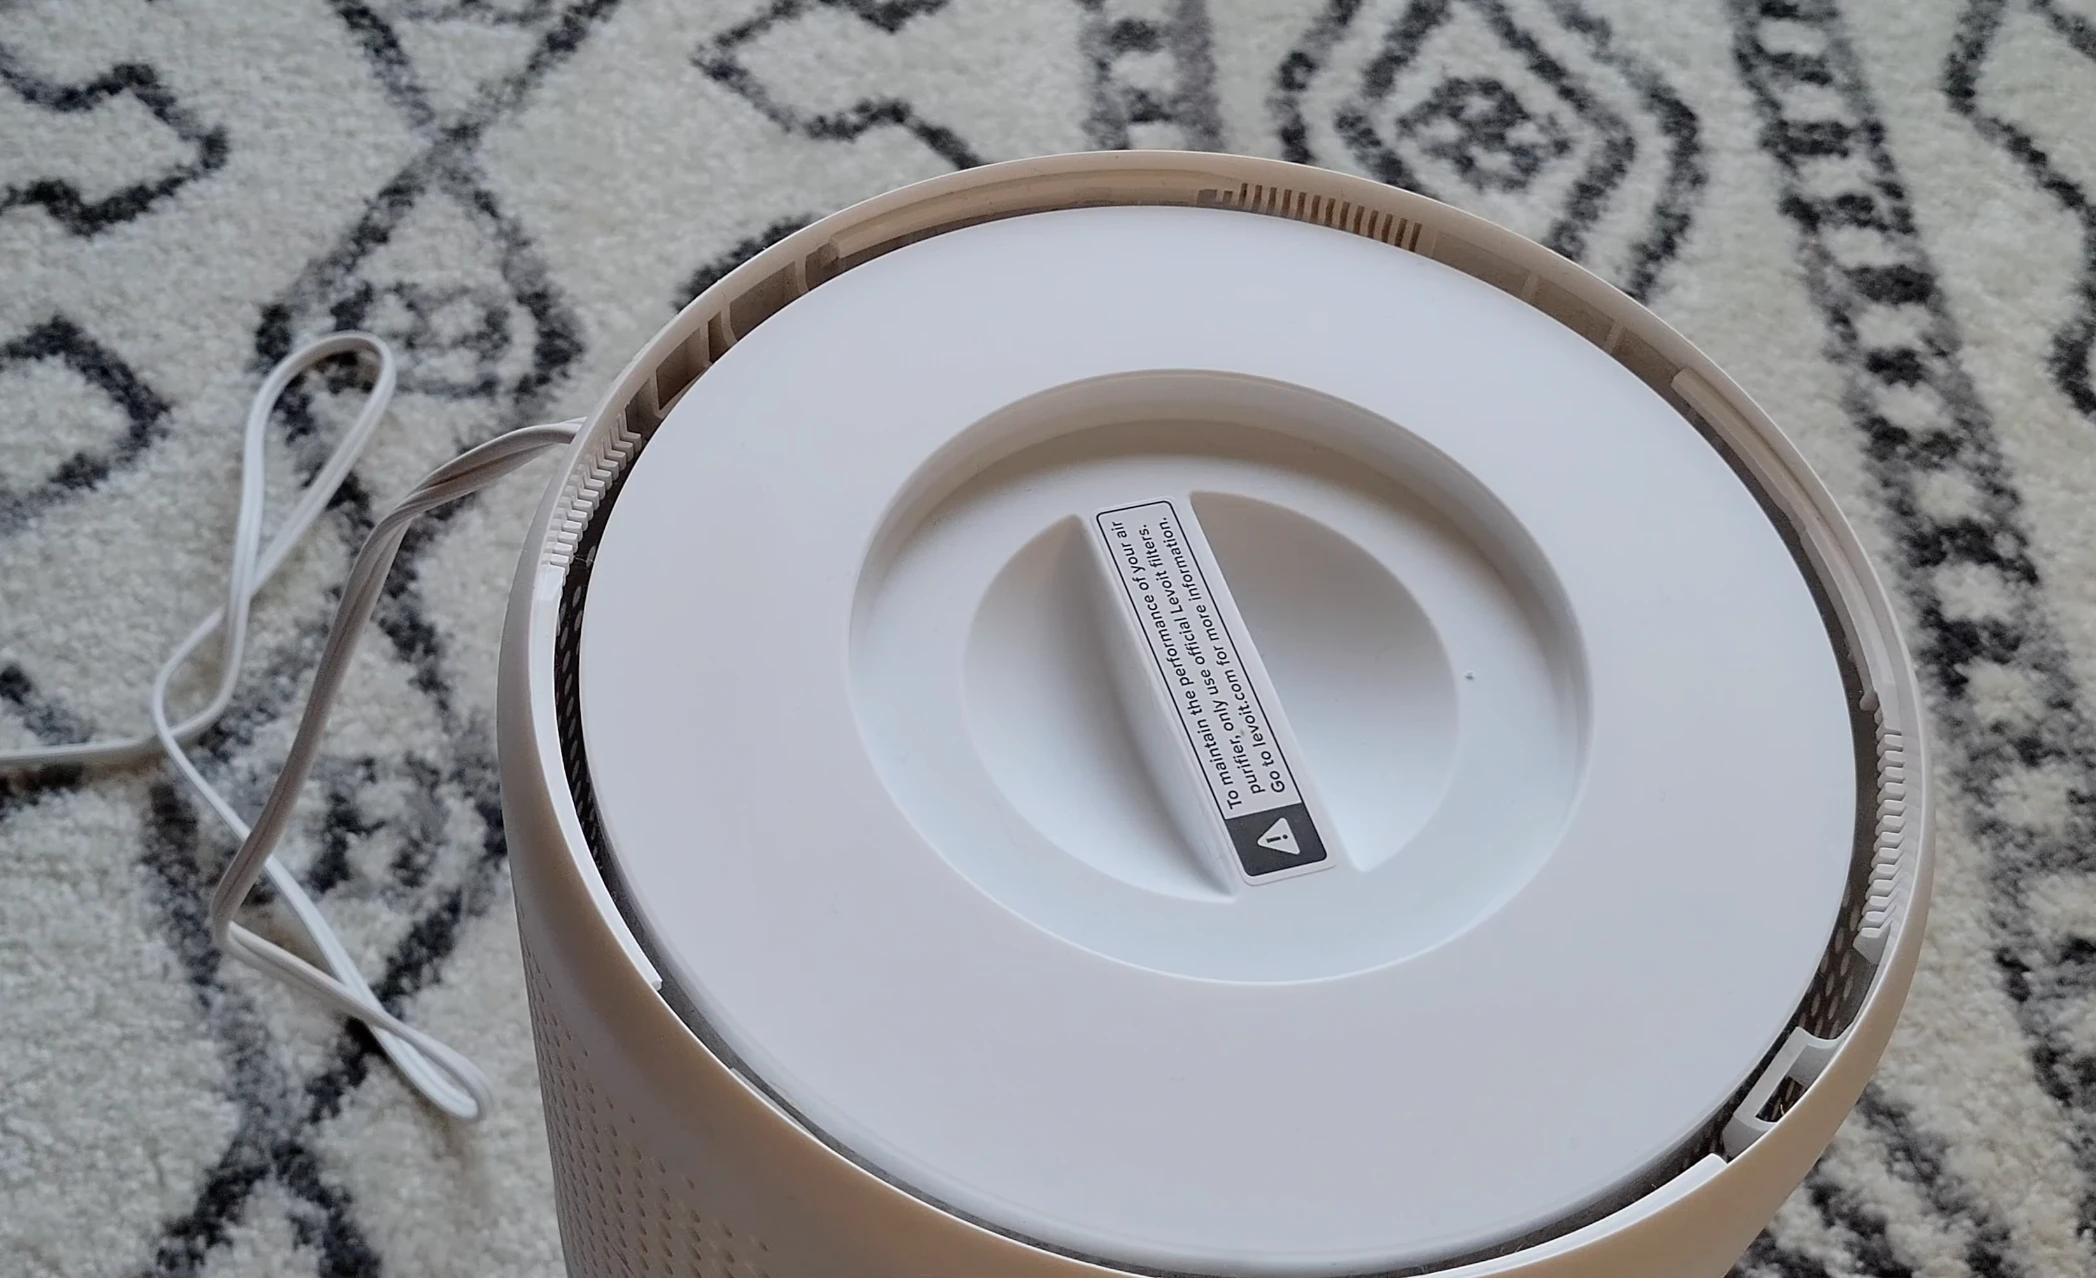
Step 1: Remove the Bottom Lid
Gently turn the air purifier upside down and rest it on your carpet or towel. Look at the bottom lid and the side of the housing.
- Locate the Unlock icon and its corresponding arrow on the side of the machine.
- Twist the bottom lid so the arrow on the lid matches up with the arrow next to the Unlock icon.
- Once aligned, simply lift the lid off and set it aside.
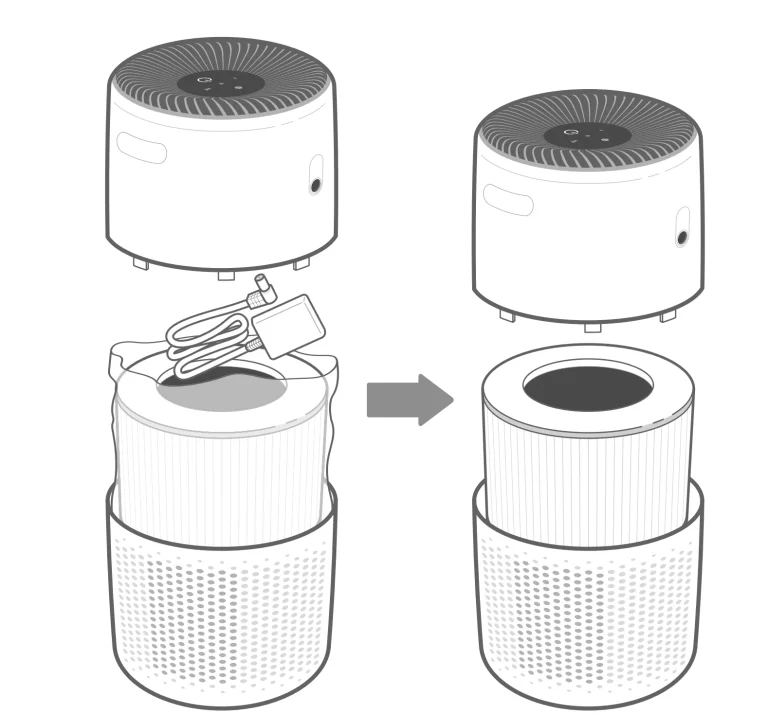
Step 2: Extract the Filter
With the lid removed, you will see the cylindrical filter. Grab the filter and lift it straight out of the housing. Set it down gently on a safe surface.
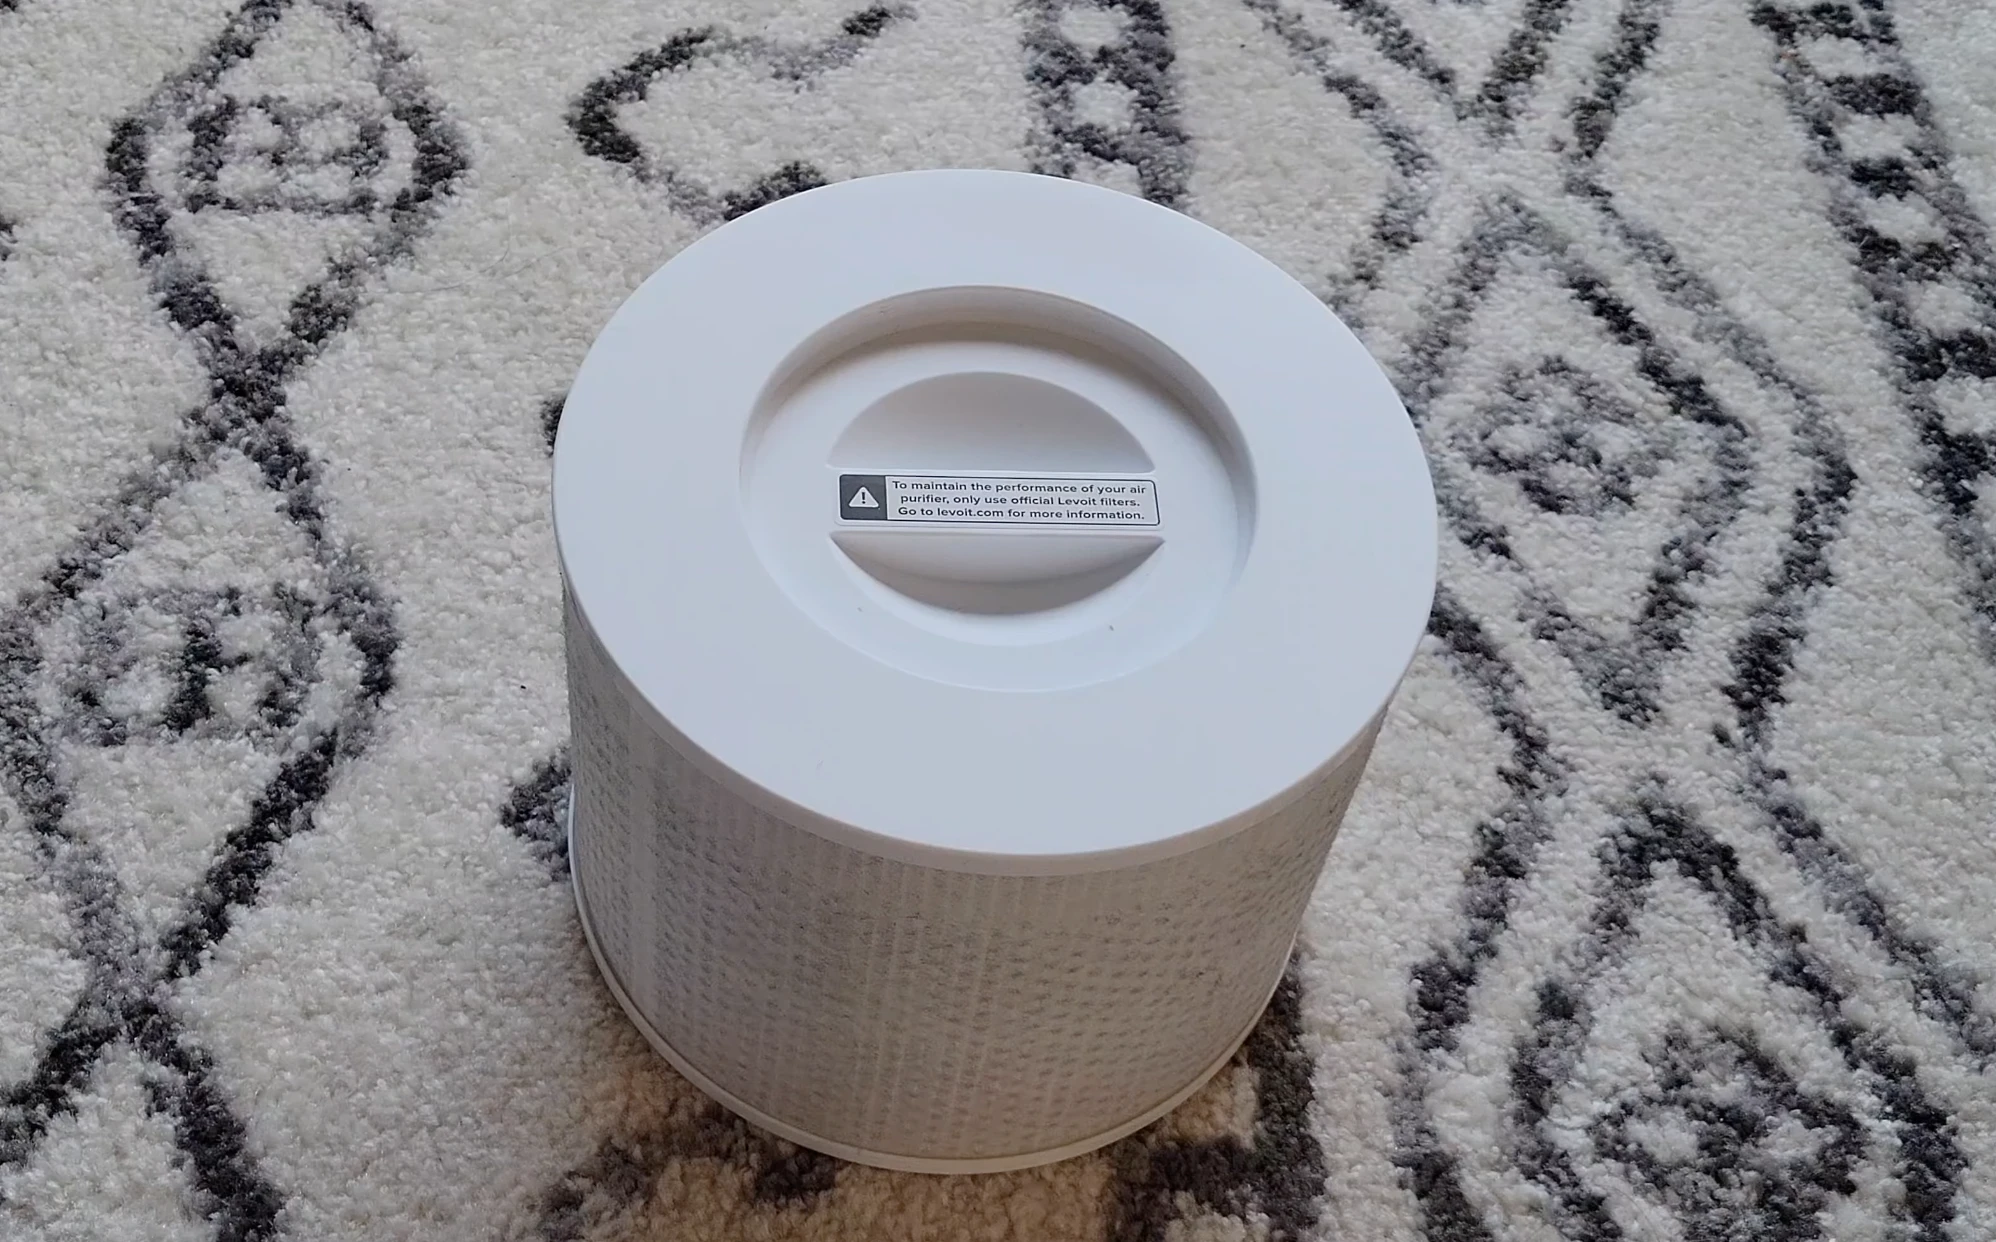
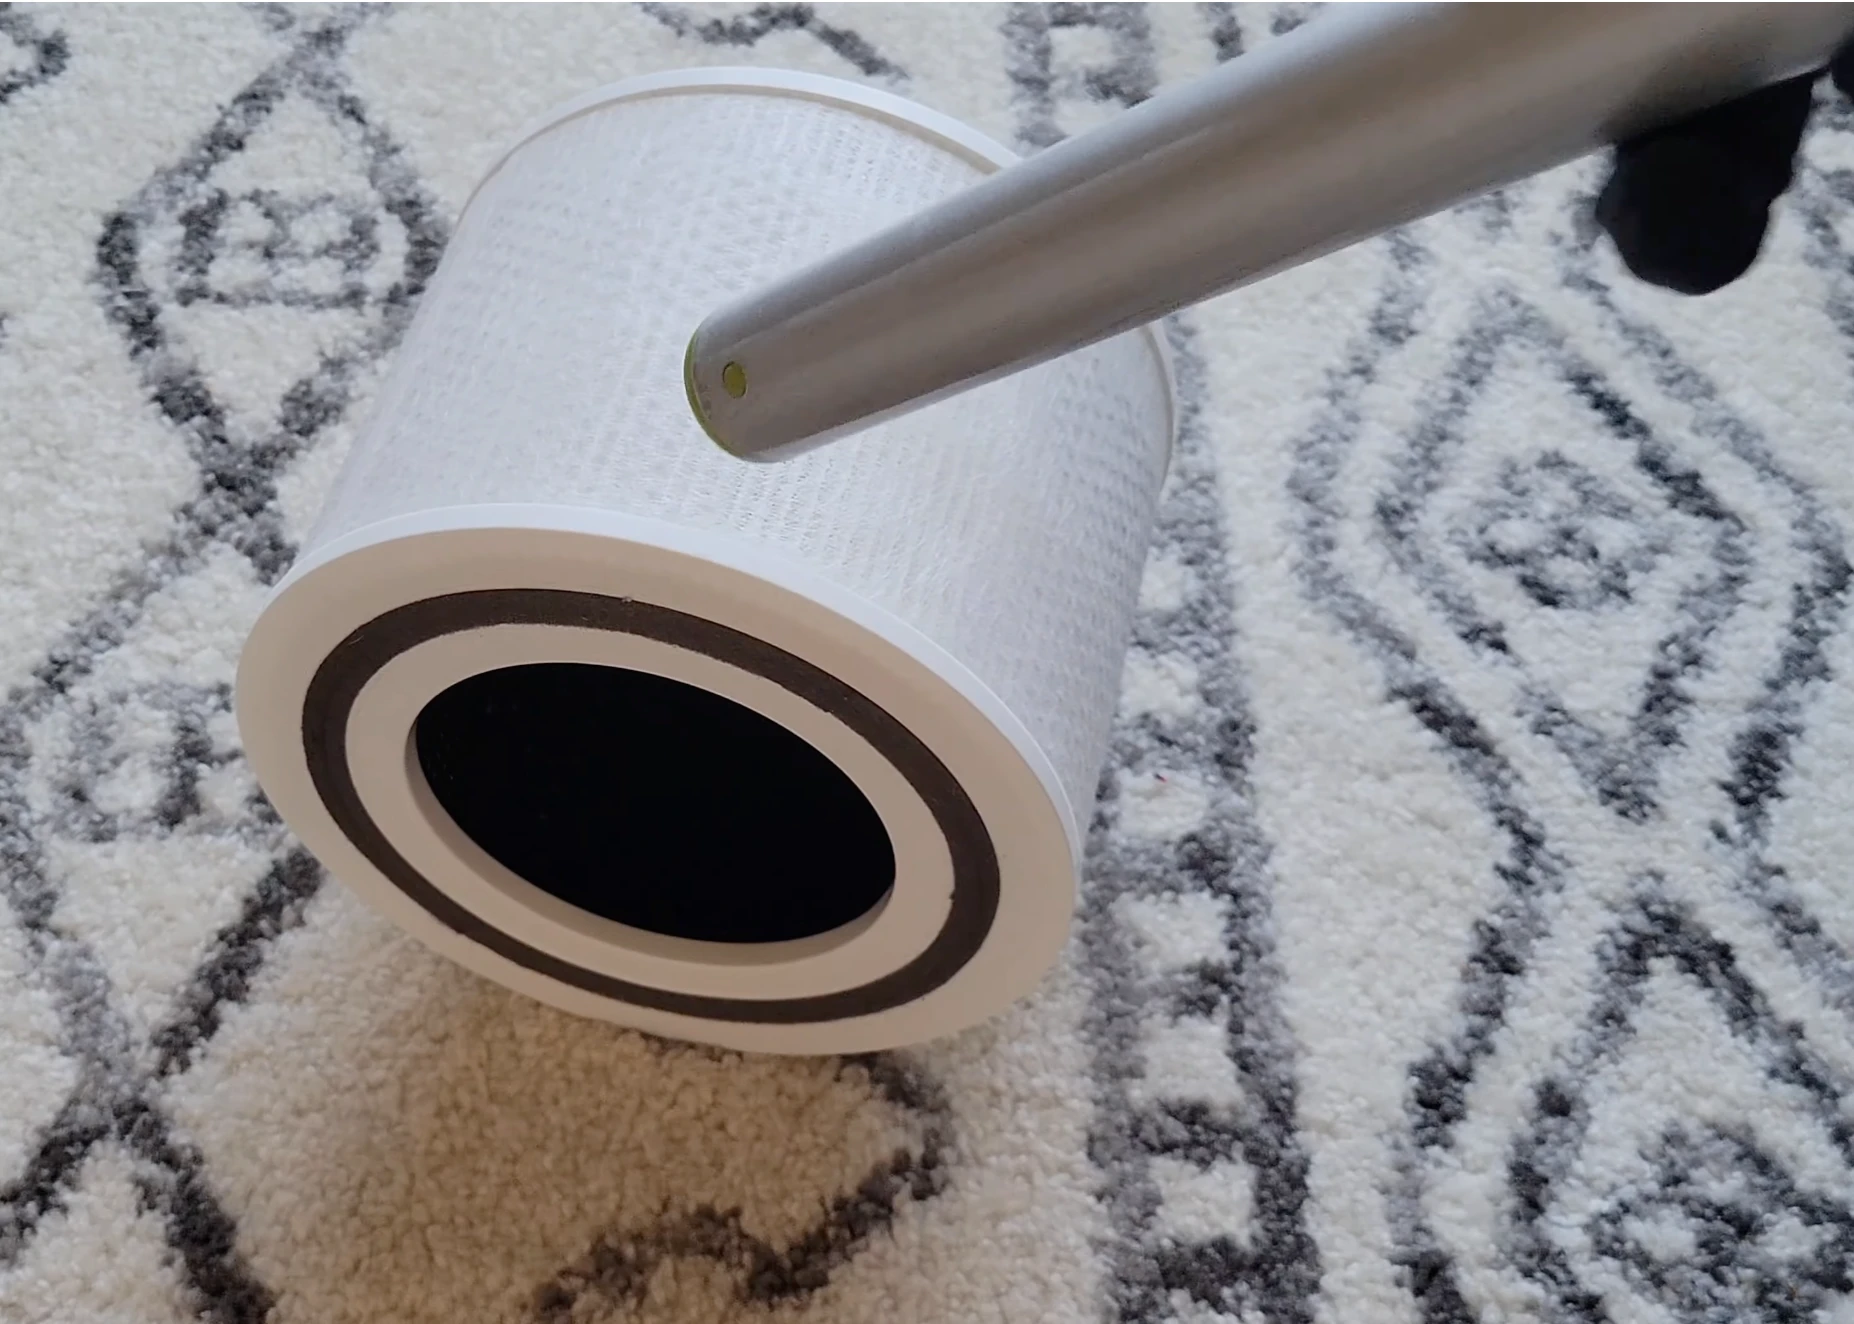
Step 3: Vacuum the Pre-Filter
You will only be cleaning the outer pre-filter—the mesh layer designed to catch large particles like pet hair and thick dust.
- Take your vacuum hose (preferably with a soft brush attachment) and gently run it all the way around the outside of the filter.
- Take your time: Be very careful with your vacuum movements so you do not accidentally puncture or damage the delicate inner HEPA filter.
🚨 CRITICAL WARNING: Do not clean the filter with water or any other liquids. Liquid will permanently ruin the filter’s HEPA material and render it useless. Vacuuming is the only safe method.
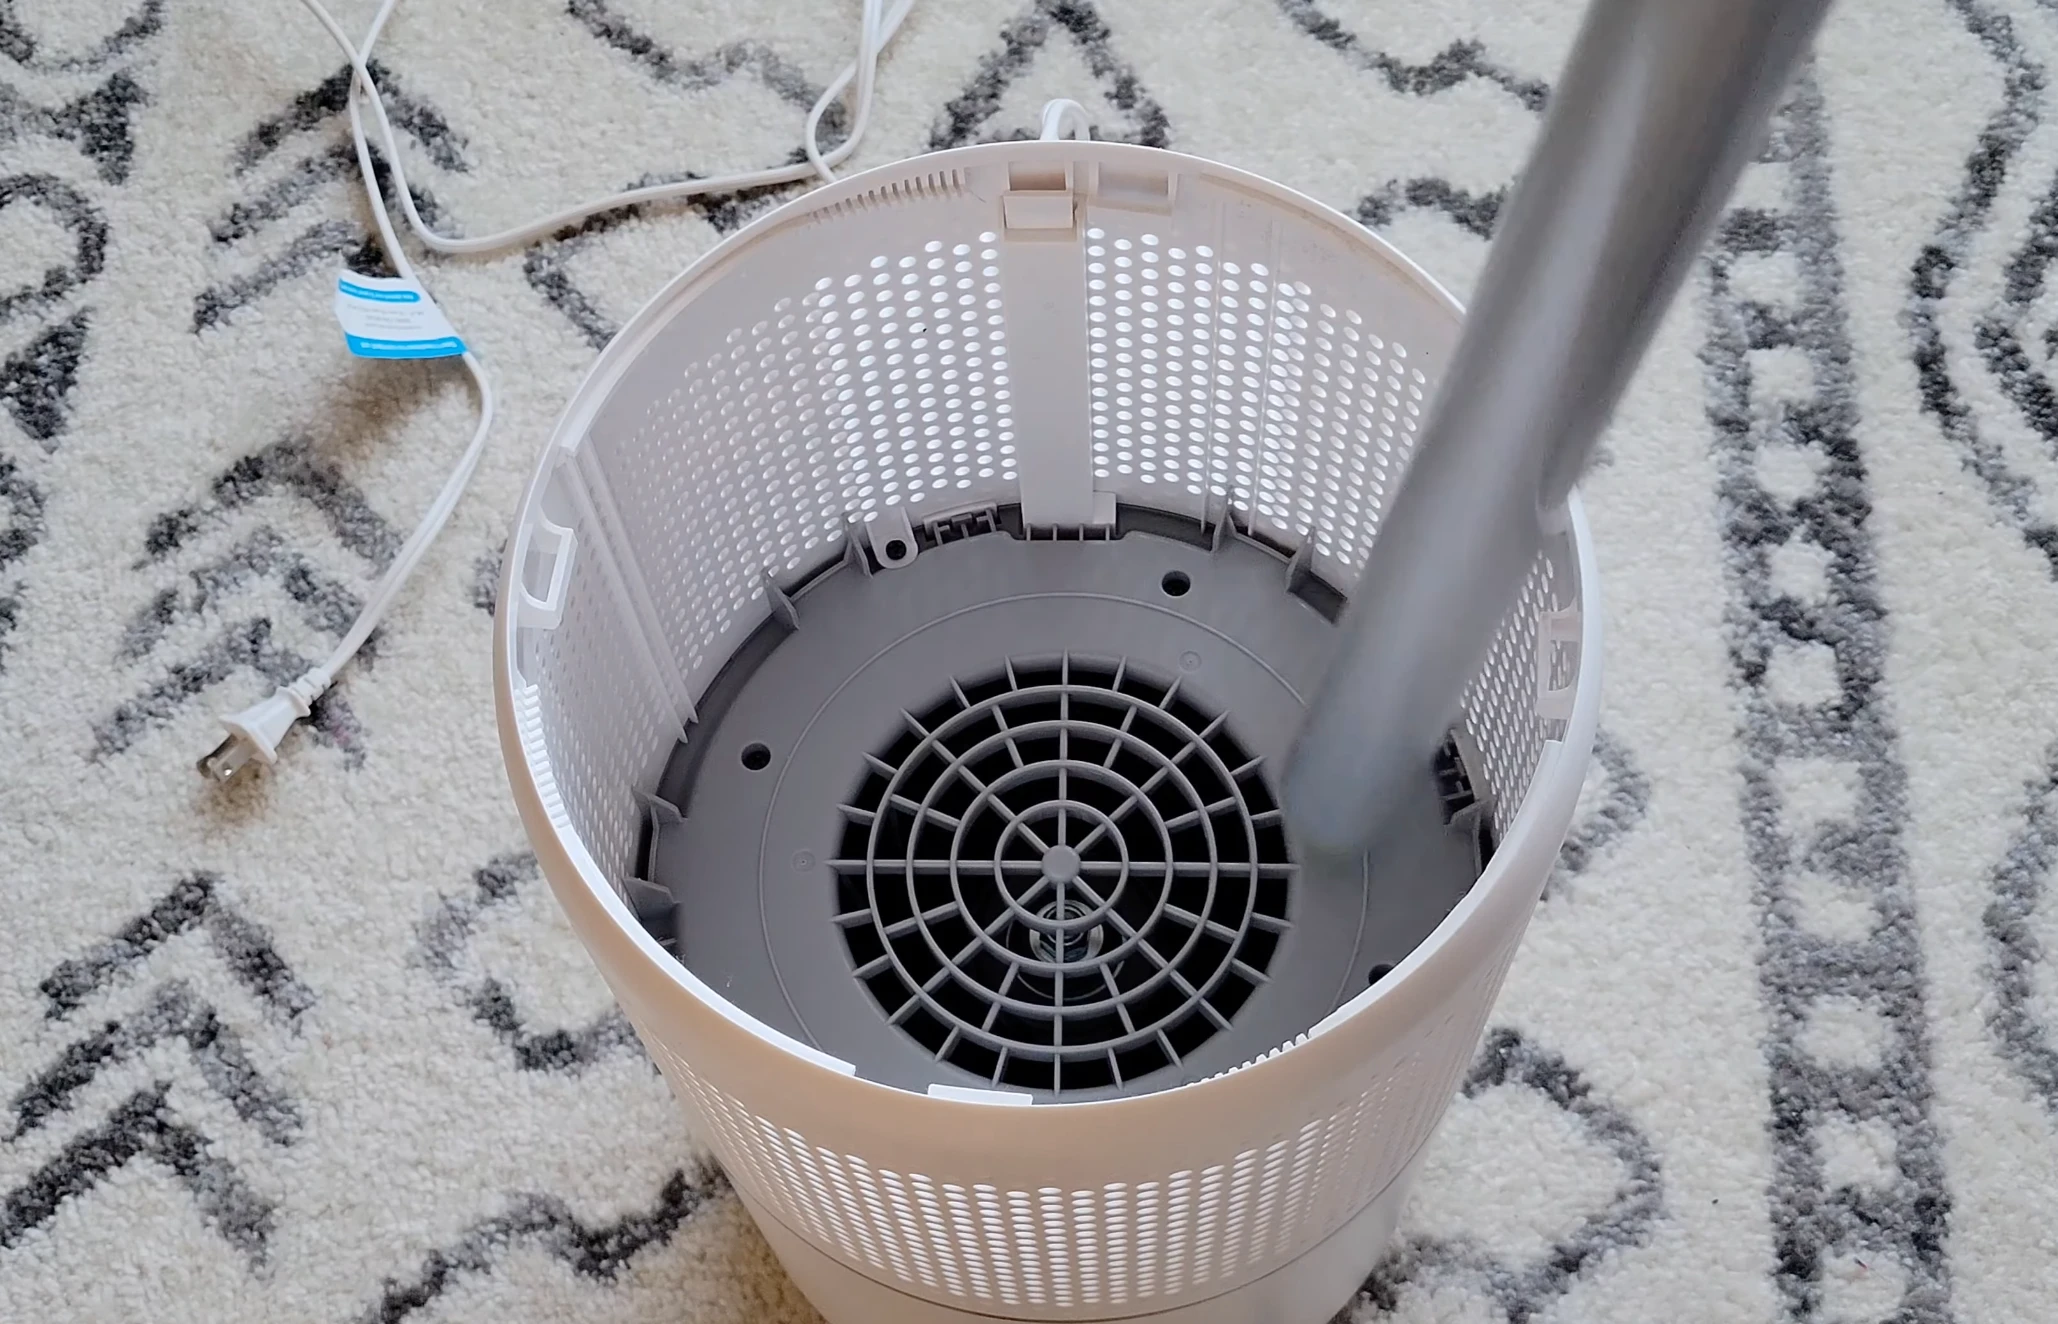
Step 4: Clean the Interior Housing
Before putting the filter back in, take a moment to vacuum the inside of the empty air purifier housing. This ensures no loose pet hair or stray dust bunnies are left trapped inside the machine.
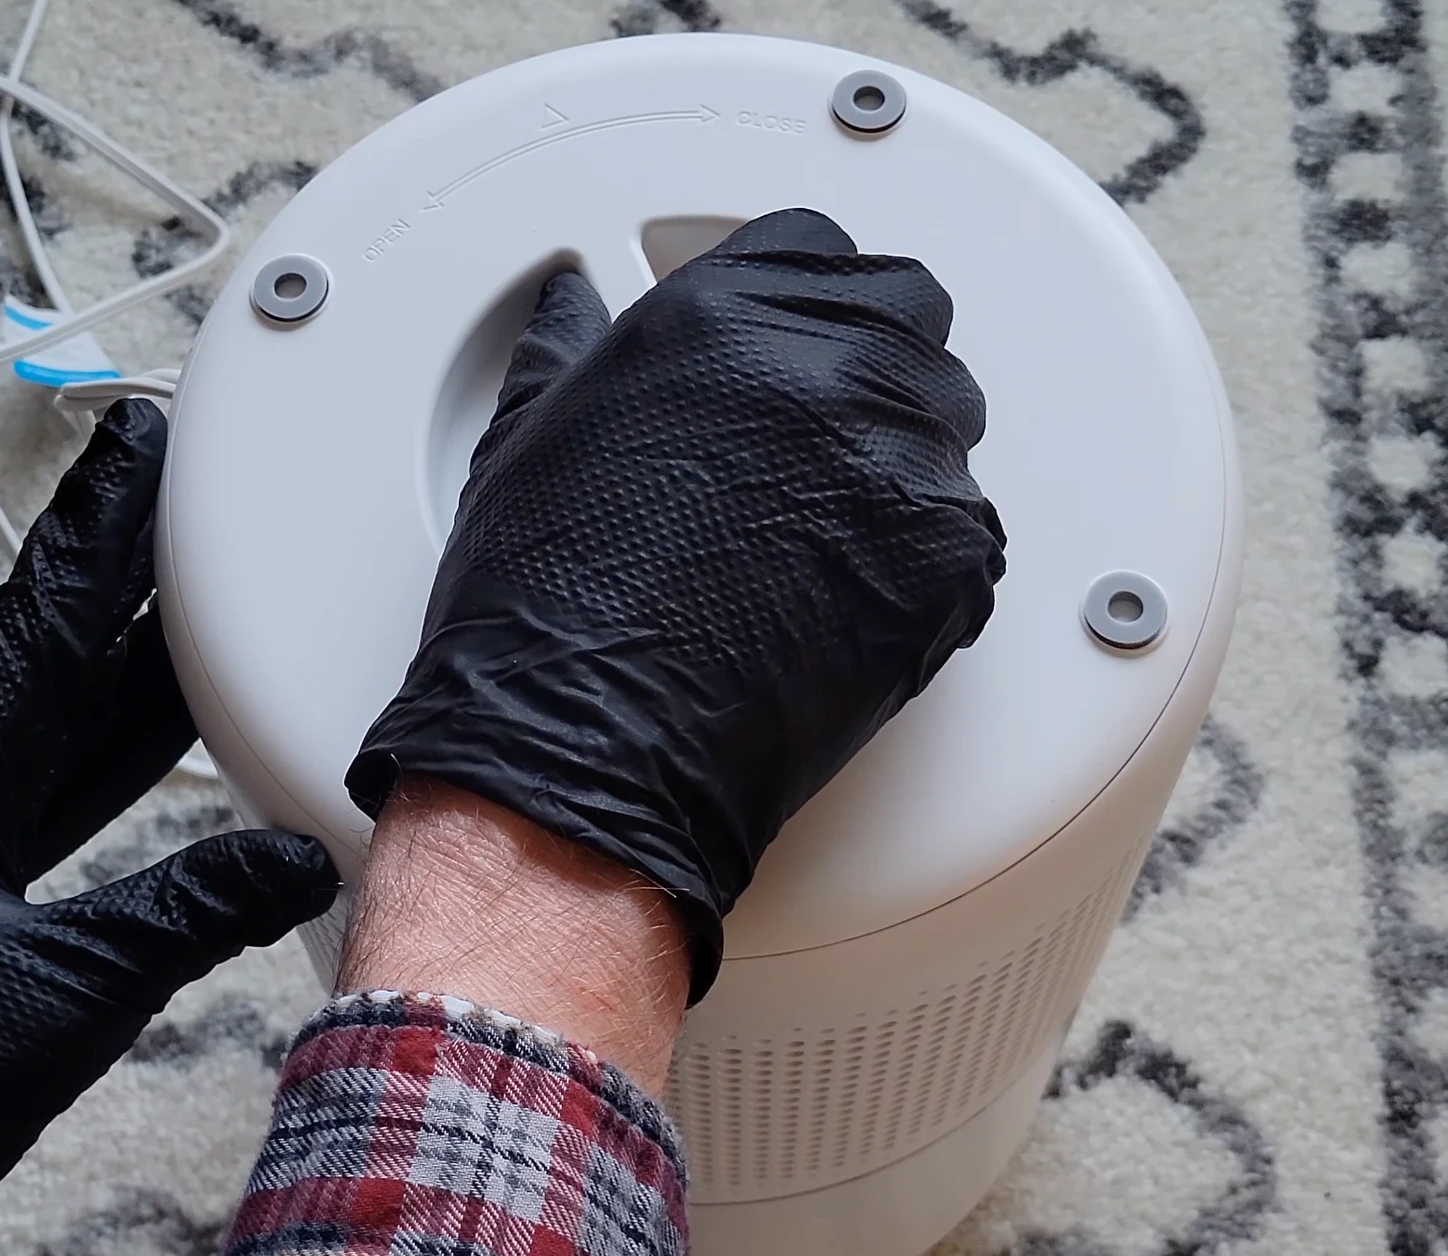
 Step 5: Reassemble the Air Purifier
Now that everything is clean, it is time to put it back together.
- Slide the filter straight back down into the housing until it is seated properly.
- Place the bottom lid back on, lining up the lid’s arrow with the arrow next to the Unlock icon on the side.
- Press down slightly and twist the lid clockwise until you hear a firm click.
- Double-check that the lid’s arrow is now aligned with the arrow next to the Lock icon.
- Gently flip the air purifier back right-side up.
Plug it back in, turn it on, and enjoy your freshly cleaned air!